Lately I’ve been getting into astrophotography, a world of many wonders both natural and artificial. All those nebulae are out there just waiting to be discovered (for yourself). While you are able to simply slap a camera onto a telescope or a tracking mount and get a photo, chances are high that photo isn’t very good straight out of the camera. A lot of what makes an astrophoto look really nice is the processing. This includes stacking exposures, noise reduction, star registration/alignment and final color manipulation.
Before detailing it, let’s see what kind of improvement this processing can make on a still image (open images in new tab to see full detail):
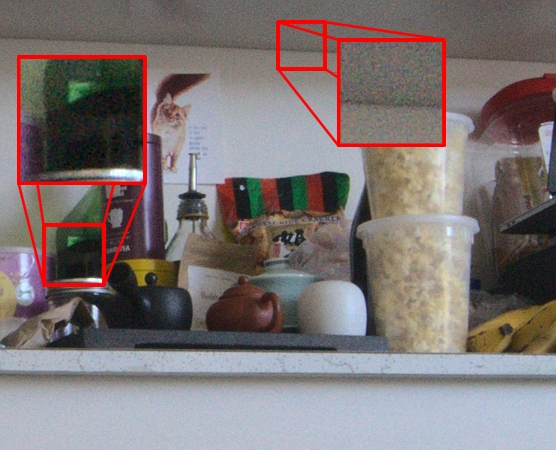
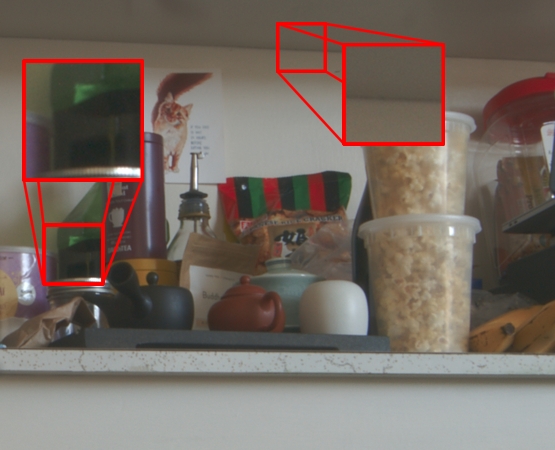
That’s quite an improvement! Noise is removed and not only has detail not been lost, it has been improved. First, what camera settings did I use to take the raw image?
- ISO 1600
- 18mm focal length
- f/22.0
- 1/3s exposure
These values are not so contrived, as a night-sky exposure is typically made at ISO 800+ with long exposure, and possibly a stopped-down aperture. This is noise you might expect to see in a long exposure of a dark sky. The trick then becomes removing the noise, and in a way that leaves stars and nebulae in tact, raising the signal-to-noise ratio. This is where image subtraction and stacking come in.
Put simply, this is done by taking images that isolate specific sources of noise, then subtracting that noise from the image. Noise sources are namely thermal noise from the exposure process and intrinsic charge bias on individual photodetectors. Remove these and you’ll have a nice, clean, pretty image without sacrificing detail or color definition.
What frames and data are we trying to collect?
- Light frames: the photo target
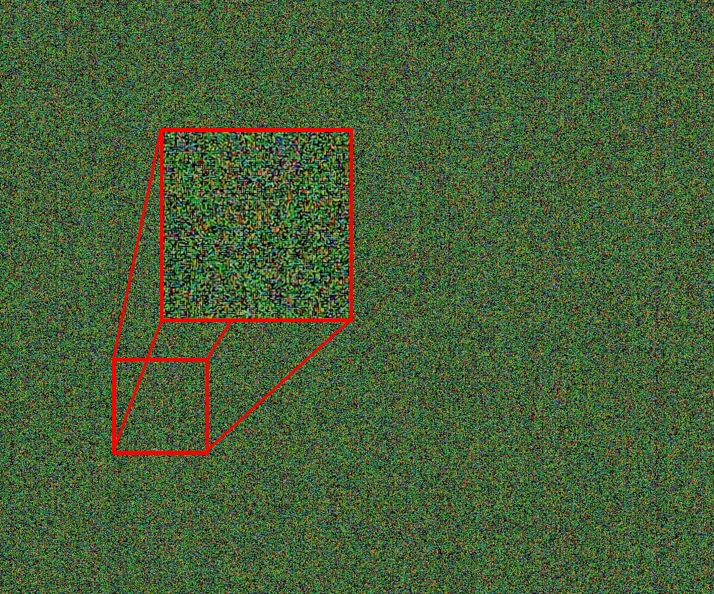
- Dark frames: thermal noise of the sensor and its imaging environment
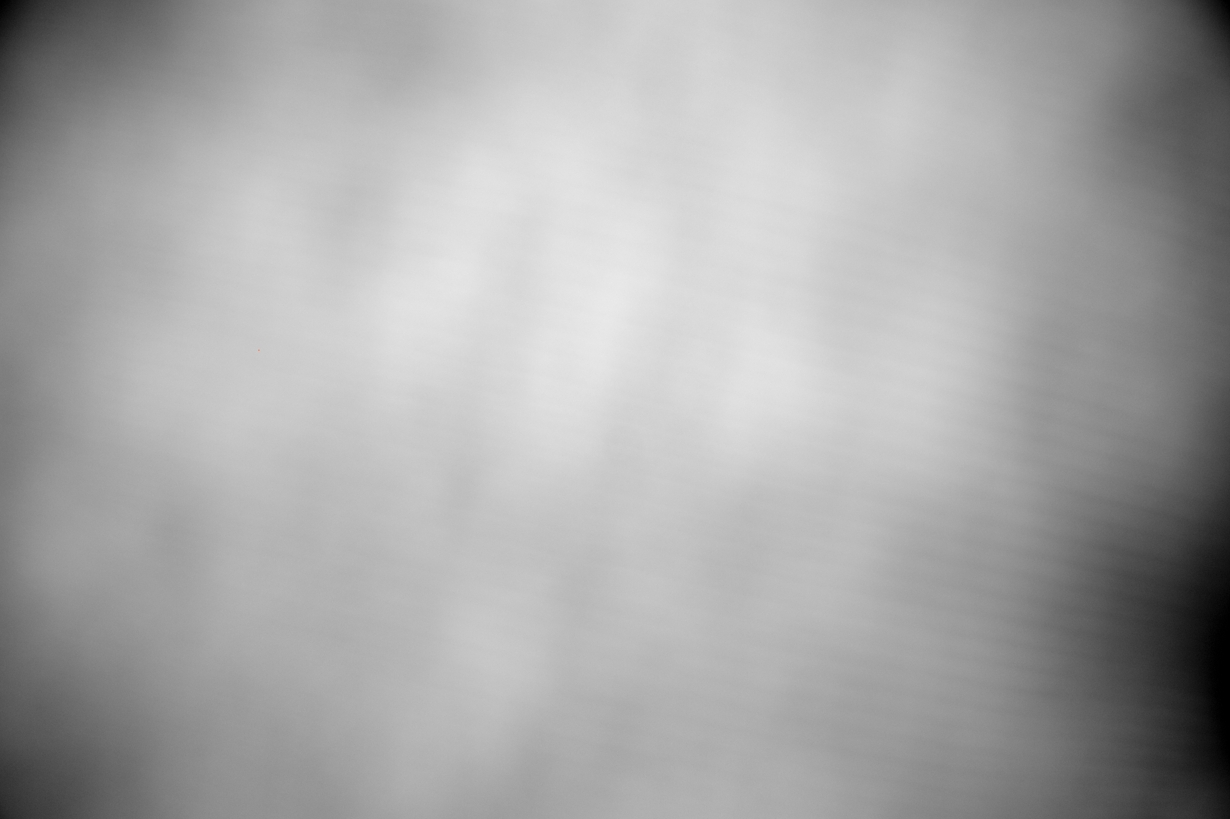
- Flat frames: lens vignetting and dust or other phsyical blemishes on the sensor or lens
- Bias frames: inherent charge levels of individual photodetectors in the CMOS (or CCD)
Data Examples
These frame examples are exaggeratd to show the data we’re trying to capture.
Dark Frame
Flat Frame
Bias Frame
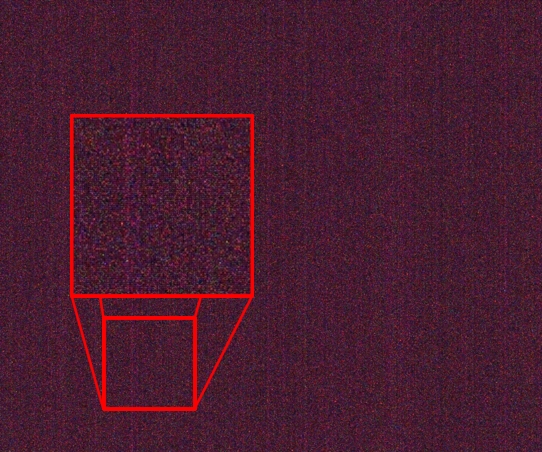
I use Siril to stack frames; it’s FOSS, pretty well-documented and it’s easy to find other users online. I won’t go over how to stack these different frames to subtract noise, as that is explained very well at FreeAstro and Pixls.
Tips and Tricks
Lights
Longer exposures improve SNR per frame over many shorter exposures, especially with a tracking mount and good filtering. Lower ISO requires longer exposures, but gives lower initial noise in the exposure. Experiment!
Bias
Bias frames go quickly and it’s easy to build a set of 40 frames. Shoot on the same ISO as lights with the fastest shutter your camera will allow. Put the lens cap on to remove light exposure. Take 30-40 shots of bias noise.
Flats
Flats can be done the next day as long as focus, ISO and aperture are identical to the original shoot. Use a white cloth or paper to keep the field of view as evenly lit as possible; rotate the cloth or paper between exposures to build an average of the material’s inherent weave or fiber pattern. Take 20-25 flats.
Darks
Darks must be done at the same time as the lights due to temperature. Keep lights and darks within 3-4 degrees to keep thermal noise consistent. Take at least 20-30 darks for every shoot.